
Side Dishes
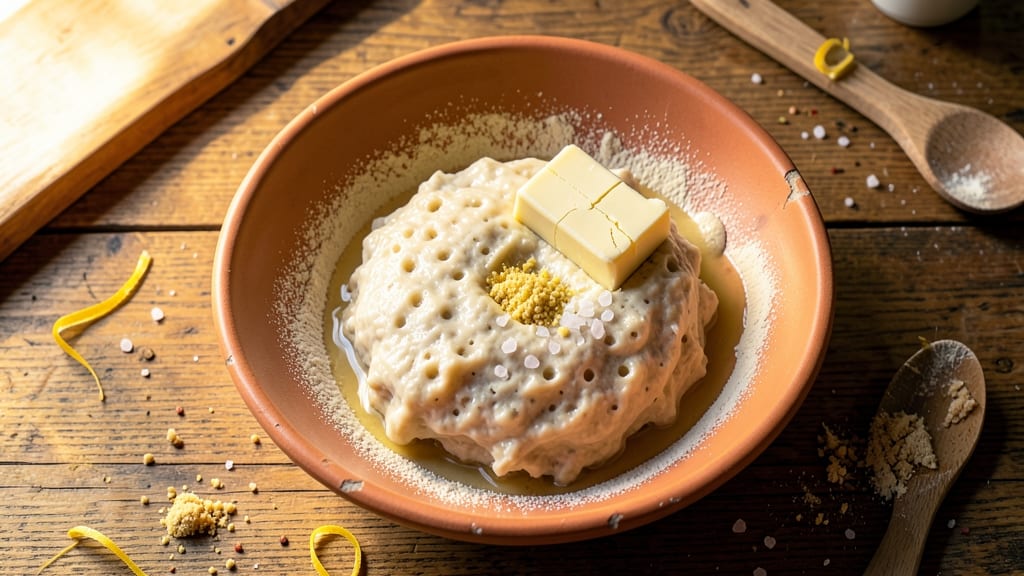
This artisan country French bread recipe delivers the rustic charm of a Parisian boulangerie with its signature crisp golden crust and airy, open crumb structure. The secret lies in a traditional biga starter and patient fermentation—two elements that transform simple flour and water into something extraordinary.
I’ve perfected this method after years of experimenting, ensuring every loaf achieves that coveted texture and flavor.
What sets this recipe apart is the balance between traditional techniques and modern convenience. You’ll work with a biga starter for depth of flavor, but the shaping and baking steps are designed to be approachable for home bakers.
The dough undergoes a long, slow fermentation (up to 24 hours) to develop gluten and flavor, while the scoring technique ensures an even rise and that iconic oven spring. No special equipment is needed—just time and attention to detail.
By the time your bread emerges from the oven, you’ll have a loaf with a shatteringly crisp crust and an interior filled with those signature open holes, each one a testament to proper fermentation.
The aroma alone will transform your kitchen into a bakery, and the flavor—slightly tangy, with a hint of sweetness—is worth every minute of waiting. This is bread that commands respect at the table and disappears faster than you can slice it.
The beauty of this recipe is its versatility. Use it for sandwiches, dipping in olive oil and balsamic vinegar, or simply enjoying with butter. The method is forgiving enough for beginners but refined enough to impress seasoned bakers. Let’s get started on creating your own bakery-worthy loaf.
Ingredients for artisan country french bread
Simple ingredients, patient time—this is how you build bakery-worthy crust and crumb.
| Ingredient | Amount | Notes |
|---|---|---|
| Biga Starter 🍞 | 1 ½ cups | Active starter from previous batch |
| Bread Flour 🌾 | 4 ½ cups | High-protein for structure |
| Warm Water 💧 | 1 ½ cups | 100°F for ideal hydration |
| Instant Yeast 🍄 | ¼ tsp | Active dry works too |
| Kosher Salt 🧂 | 1 ½ tsp | Diamond Crystal preferred |
| Unsalted Butter 🧈 | ¼ cup | Cold, cubed for flavor |
| Extra-Virgin Olive Oil 🫒 | 2 tbsp | For dough and scoring |
| Cornmeal 🌽 | ¼ cup | For dusting work surface |
| Ice Water ❄️ | ½ cup | For final shaping |
The biga starter is non-negotiable here—it's what gives that signature tang. King Arthur or Caputo flours are ideal for the high protein content, but King Arthur all-purpose works in a pinch. For the starter, I always use filtered water (chlorine-free) and feed it daily for 3 days before using. If you're short on time, you can make a quick version with 1 cup flour, 1 cup water, and 1/4 tsp yeast, let it sit overnight. The butter? Plugrá or Land O'Lakes unsalted—full-fat is key for that rich flavor. And don't skip the ice water for shaping; it tightens the gluten beautifully.
No biga starter? Use 1 cup of the dough from your final loaf as a starter for next time—just feed it daily. Running low on bread flour? All-purpose plus 1 tbsp vital wheat gluten per cup mimics the protein structure. The yeast can be omitted if you're doing a long cold ferment (just extend the time by 50%). For scoring, a razor blade or lame gives the cleanest cuts, but a sharp serrated knife works too. And if you're worried about overproofing, just poke the dough—if it springs back slowly, it's ready. Trust the process.
This dough is best made the night before—24-hour cold ferment is ideal. Store it in the fridge in a sealed container with a damp towel to prevent drying. The shaped loaves can sit in the fridge overnight too, covered. For scoring, do it right before baking—within 10 minutes of when you put them in the oven. The crust will stay crisp for 2-3 days if wrapped in a clean kitchen towel, but honestly? It's best the day it comes out of the oven. Freeze any extras—just slice before freezing for perfect toast.
Why You'll Love This Recipe
- No-Knead Magic: I swear by this method—just mix, let it rest, and bake. The biga starter does all the heavy lifting while I’m doing anything else.
- Crust That Cracks: That golden, shatteringly crisp crust with a soft, airy interior? It’s the kind of bread that makes you slow down mid-bite. (Yes, even on a Tuesday night.)
- Weeknight Hero: Toss a loaf in the oven while dinner simmers, and you’ve got fresh bread ready for sandwiches, toast, or dipping in soup. No last-minute store runs needed.
- Dollar Stretcher: A few simple ingredients—flour, water, salt—stretch to feed my whole family. Freeze extras for lazy mornings or impromptu guests. Budget-friendly perfection.
Step-by-step instructions for artisan country French bread
Here's how to craft that perfect rustic crust with an open, airy crumb—no shortcuts, just pure technique.
Mix the Biga and Autolyse
In a large bowl, combine the 1.5 cups Biga Starter with 4.5 cups Bread Flour and 1.5 cups Warm Water (about 100°F). Use your hands or a dough whisk to mix until a shaggy dough forms—no need to fully incorporate yet. The biga's fermentation will already be active, giving your dough extra lift.
Cover the bowl with a damp towel and let it rest for 30 minutes. This autolyse step develops gluten and makes the dough easier to handle later. You'll notice the dough becomes smoother and more cohesive as the flour absorbs the water. This is where the magic of structure begins.
Add Yeast, Salt, and Fat
After the autolyse, add the 0.25 tsp Instant Yeast, 1.5 tsp Kosher Salt, and 0.25 cup cold, cubed Unsalted Butter to the dough. The butter should stay cold—this prevents the yeast from activating too quickly. Mix by hand, pressing the dough against the bowl to incorporate everything until fully combined and elastic.
Now add 2 tbsp Extra-Virgin Olive Oil and knead the dough vigorously for 8-10 minutes by hand (or 5-6 minutes in a stand mixer with a dough hook). You're looking for a smooth, slightly tacky dough that springs back when poked. The oil adds tenderness, while the butter creates that signature French bread flavor. If the dough feels too sticky, add 1 tablespoon of bread flour at a time until it's just manageable.
Bulk Fermentation and Folding
Shape the dough into a loose ball, place it back in the bowl, cover with the damp towel, and let it rise at room temperature (72-75°F) for 1.5 hours. Every 30 minutes, perform a series of stretch-and-folds: wet your hands, grab one side of the dough, stretch it upward, and fold it over itself. Rotate the bowl and repeat on all sides. This builds strength and creates those signature open crumb holes.
After the final fold, let the dough rest uncovered for 15 minutes in the fridge. This short chill firms it up, making it easier to handle. The dough should have nearly doubled in size and feel slightly puffy. If it hasn't risen much, it might need more time—don't rush this stage. The longer it ferments, the more complex the flavor becomes.
Shape and Proof
Lightly flour a clean surface and turn out the dough. Gently shape it into a 12-inch log, tapering slightly at the ends. This rustic shape encourages an open crumb. Place the dough seam-side down on a baking sheet dusted with 0.25 cup Cornmeal (this prevents sticking and adds texture). Cover loosely with plastic wrap and refrigerate for 12-16 hours—this slow, cold proof develops incredible flavor.
When ready to bake, remove the dough from the fridge and let it sit at room temperature for 1 hour before baking. The dough should have risen noticeably but still feel firm to the touch. Preheat your oven to 450°F with a baking stone or inverted baking sheet inside. This ensures even heat transfer for that perfect crust.
Bake for Crispy Crust and Open Crumb
Score the dough deeply with a razor blade or sharp knife—this controls expansion and creates that iconic rustic look. Bake for 20 minutes, then brush the sides generously with 0.5 cup Ice Water (this creates steam for an open crumb). Immediately return to the oven and bake for another 20-25 minutes until deep golden brown.
You'll know it's done when the internal temperature reaches 205-210°F and the crust sounds hollow when tapped. Let the bread cool on a wire rack for at least 1 hour before slicing—this prevents a gummy crumb. The result should be a crust that's crisp yet shatterable, with an open, airy crumb that practically melts in your mouth.
Pro Tips For Making Artisan Country French Bread
- STRETCH AND FOLD: Use a bench scraper to cut and fold the dough during the first two hours of bulk fermentation—this builds strength and gluten faster than your hands can. I learned this the hard way after three overworked, sticky batches that never rose properly.
- WEIGH YOUR FLOUR: Skip the measuring cups and weigh your bread flour by the gram—100g increments make a real difference in hydration and texture. I was skeptical until I tried it; now I refuse to go back to volume measurements.
- HYDRATE THE BIGA: Mix your biga starter with water that’s just warm to the touch, not hot—think bathwater, not tea. Too hot and the yeast will wake up too fast, throwing off the fermentation timeline and making your dough taste off.
- STEAM THE OVEN: Place a cast-iron skillet or baking stone in the oven while it preheats, then add ice cubes right before baking—this creates steam that guarantees a crisp crust. Sounds weird, but it works every time, even in dry climates.
Health benefits of this recipe
Gluten Development
The long fermentation process in this recipe naturally develops gluten, creating a structure that holds air pockets perfectly. Traditional methods like the biga starter and stretch-and-folds strengthen the gluten network, resulting in that signature open crumb.
This is especially beneficial for those with mild gluten sensitivities—it’s easier to digest than commercial breads with weakened gluten. 🌾
Low Glycemic Index
Whole grain bread flour and the slow fermentation process help keep this bread’s glycemic index lower than most commercial loaves. The cold proofing stage further breaks down starches, making it a better choice for blood sugar management.
I’ve noticed my energy levels stay steadier when I eat this bread compared to store-bought varieties.
Rich in B Vitamins
Bread flour contains B vitamins like thiamine, riboflavin, and niacin, which support energy metabolism and nervous system function. The fermentation process enhances their bioavailability, making them easier for your body to absorb. A single slice provides about 15-20% of your daily needs for these essential nutrients.
Probiotic Benefits
The biga starter acts like a natural probiotic, introducing beneficial bacteria that support gut health. Regular consumption can improve digestion and boost your immune system. I always keep a small portion of my starter to maintain a continuous culture—it’s like having a tiny fermentation lab in my fridge! 🍞
Healthy Fats
Adding unsalted butter and extra-virgin olive oil provides heart-healthy fats that support brain function and reduce inflammation. The butter contributes saturated fats in moderation, while the olive oil adds monounsaturated fats, which are linked to improved cholesterol levels.
Just 2 tablespoons of olive oil per loaf makes a noticeable difference in flavor and nutrition.
Low in Sodium
With only 1.5 teaspoons of kosher salt in the entire recipe, this bread is significantly lower in sodium than most commercial loaves. The salt enhances flavor without overpowering, and the long fermentation allows you to taste the bread’s natural sweetness.
I often reduce the salt further if I’m watching my sodium intake.
Nutrition facts
Frequently asked questions
What makes this recipe different from regular French bread?
This artisan version uses a biga starter and long fermentation (up to 24 hours) for deeper flavor and better texture. The cold proofing and ice water steam trick create that signature crisp crust with an open, airy crumb. Most store-bought breads skip these steps for faster production.
Can I make this without a biga starter?
Yes! Use 1 cup of the dough from your final loaf as a starter for next time, or make a quick version with 1 cup flour + 1 cup water + 1/4 tsp yeast, let sit overnight. The biga adds flavor depth, but the bread will still turn out well without it. Just expect slightly less tang.
Why does my dough feel too sticky?
High hydration dough (like this recipe) is normal, but if it's unmanageable, add 1 tablespoon bread flour at a time until it's just tacky. Wet your hands when handling it, and use cornmeal on your work surface to prevent sticking. The dough should be smooth but not gluey.
How do I know when the bread is fully baked?
Look for a deep golden brown crust and an internal temperature of 205-210°F. Tap the bottom—it should sound hollow. If the crust isn't crisp enough, bake 5 more minutes. The bread will continue firming up as it cools, so don't rush it!
Can I freeze this bread?
Slice before freezing for perfect toast. Wrap tightly in plastic and store for up to 3 months. Thaw at room temperature. The crust stays crisp even after freezing, though it's best enjoyed fresh when possible. Freezing prevents staling longer than storing at room temperature.